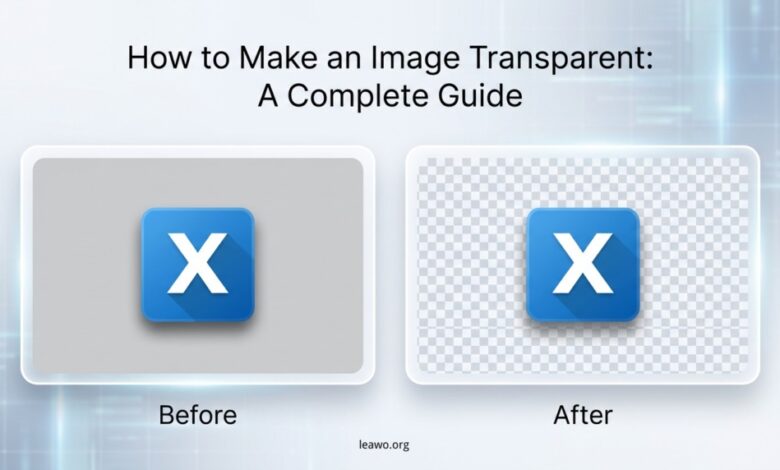
How to Make an Image Transparent: A Complete Guide

Transparent images are essential for modern design work. They let you remove backgrounds from photos and graphics. This makes images blend seamlessly into different projects. You can use transparent images for logos, product photos, and social media posts. They work great for presentations and website designs too. Many people wonder how to make an image transparent. The good news is that you have many options. You can use online tools, desktop software, or mobile apps. This guide will show you several easy methods to make image transparent.
Part 1: Make an Image Transparent Using Online Tools
Popular Online Tools
Online tools offer quick solutions without downloading software. Remove.bg is a popular choice that works automatically. Canva provides user-friendly editing features for beginners. Pixlr offers advanced options for detailed work. Other good options include Adobe Express and LunaPic. These tools work right in your web browser.
Using Canva Step by Step
Canva makes it simple to create transparent images.
- First, go to the Canva website and sign in.
- Click on “Create a design” and choose your size.
- Upload the image you want to edit. Select your image on the canvas.
- Click on “Edit photo” in the toolbar.
- Look for the “Background Remover” option. Click it and wait a few seconds.
Canva will remove the background automatically. You can fine-tune the edges if needed. Download your image as a PNG file. Make sure to select the transparent background option.
Part 2: Make an Image Transparent Using PowerPoint
PowerPoint is not just for presentations. You can use it to make backgrounds transparent.
- Open PowerPoint and create a new slide.
- Insert your image by clicking “Insert” then “Pictures.”
- Select the image you added. Click on “Picture Format” in the top menu.
- Choose “Remove Background” from the options.
PowerPoint will mark areas to keep and remove. Purple shows what will be deleted. You can adjust the selection manually.
- Click “Mark Areas to Keep” for parts you want.
- Use “Mark Areas to Remove” for unwanted sections.
- Click “Keep Changes” when you are done.
- Right-click the image and save it as PNG.
This preserves the transparency you created.
Part 3: Make an Image Transparent in Photo Editing Software
Professional Software Options
Desktop software gives you more control over results. Leawo Photo BG Remover offers powerful AI-driven background removal. Photoshop remains the industry standard for professionals. GIMP is a free alternative with similar features. Paint.NET works well for Windows users. These programs handle complex images better than online tools.
Using Leawo Photo BG Remover
Leawo Photo BG Remover simplifies the entire process.
- Download and install the software on your computer.
- Launch the program and click “Add Photo.”
- Select the image you want to edit.
The AI will analyze your image automatically. It identifies the subject and background quickly. The background gets removed in seconds. You can preview the result before saving. Use the brush tool to fix any mistakes. Make the brush smaller for detailed areas. Click “Save” and choose PNG format. The transparent image is ready to use. This tool works faster than manual methods. It handles batch processing for multiple images.
You can also learn to remove image background in Photoshop for more advanced techniques.
Part 4: Make an Image Transparent on Mobile Devices
Mobile Apps for Transparency
Mobile apps let you work on the go. PhotoRoom works on both Android and iOS devices. PicsArt offers creative tools and background removal. Pixlr brings desktop features to your phone. Background Eraser is simple and effective. These apps use AI to detect subjects automatically.
Step-by-Step Mobile Process
- Download PhotoRoom from your app store.
- Open the app and tap the plus icon.
- Select the photo you want to edit. The app removes the background instantly.
You can change the background color if needed.
- Tap “Export” to save your transparent image.
- Choose PNG format from the options.
The image is saved to your phone’s gallery. You can share it directly on social media. Most mobile apps work the same way. The process takes less than a minute.
Part 5: Common Mistakes and Workarounds
Saving in Wrong Format
JPG does not support transparency at all. Always save transparent images as PNG files. WebP format also supports transparency well. GIF can have transparent areas too. TIFF files work for professional printing. Choosing the right format is crucial. Your transparency will disappear with JPG format.
Poor Edge Quality
Rough edges make images look unprofessional. Zoom in to check edge quality closely. Use feathering to smooth harsh edges. Adjust the tolerance settings in your tool. Lower values give more precise selections. Take time to refine problem areas. Clean edges make a huge difference.
Working in Low Resolution
Low resolution creates pixelated transparent images. Start with high-quality source images always. Aim for at least 300 DPI for printing. Web images need at least 72 DPI minimum. Higher resolution gives better final results. You cannot add detail to low-quality images. Quality matters more than speed here.
Conclusion
Learning how to make an image transparent opens creative possibilities. You now have multiple methods to choose from. Online tools work great for quick jobs. Desktop software handles complex projects better. Mobile apps provide convenience when traveling. Each method has its own strengths. Pick the tool that fits your needs. Remember to save files in PNG format. Check your edges for clean results. Use high-resolution images from the start. With practice, you will make image transparent quickly. These skills improve your design projects significantly. Start experimenting with different tools today. You will find the perfect workflow soon.


